
If you've read previous posts of mine, you know I completely heart baskets, buckets, and oodles of other containers that store random things around my home. But in order to keep things organized and simple for the kids to know where things go, you have to label. It just keeps things in order and you always know where to find things, too! When I first started to organize things in my house, I started making my own labels. I would make them, print them on regular paper, and glue/tape/or tie them on my containers. Within a few days I would find crumbled up pieces of paper all over my house. I'd pick them up and throw them away thinking it was just a scrap piece of paper from the kids coloring books or maybe my husband lost another receipt out of his wallet. But then I started noticing something. Where…WHERE are all my labels?! They were gone. Vanished. Couldn't find them anywhere. And then it dawned on me. I, myself, got rid of them without even knowing all the hard work I was throwing away. Pun intended.
I tried to pin point why my labels weren't staying on. Then I realized. They were too flimsy and they weren't strong enough to withhold the death grips of my toddlers. They were being wrinkled and crumpled up within days. So I knew I needed to start laminating them to make them last longer and be more sturdy and strong. But I didn't have a laminating machine. And I wanted it done quick. So here's this little gem piece of information for you. You don't need a laminating machine. All you need is some scissors and shipping/packing tape. BOOM! That was the sound of your mind being blown.
So, lets see how this is done, shall we? This might turn into the shortest post in blogging history. It takes literally three steps to do this.
Supplies You'll Need:
- Packing/Shipping Tape
- Scissors
- Your labels
Step 1: -Unroll a piece of tape and place your label face down onto the sticky side. Cut the piece of tape leaving a slight border around the label.

Step 2:
Cut another piece of tape the same size and place the sticky side on the back of the label. Both sticky sides should be touching one another.

Step 3:
Cut around your label to have clean edges and you're finished!
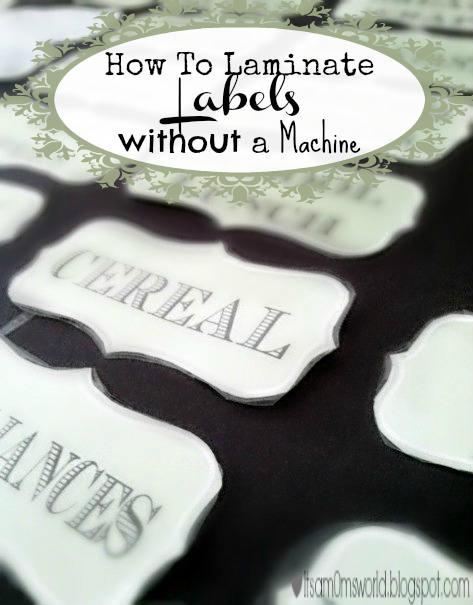
You're left with perfectly laminated labels without having to buy a machine. And it's super cheap. The tape costs around $4 for two rolls.
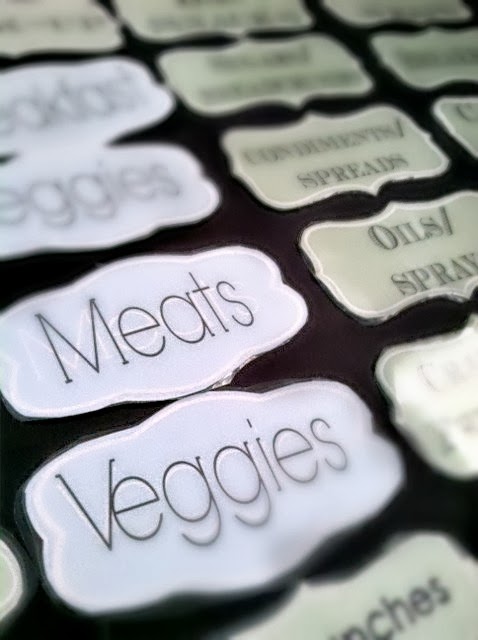


I used this "system" to laminate my labels inside my pantry.
Don't they just look so pretty? Well, you can't really see that something is laminated in a picture but just take my word for it. It's pretty!
Now go ahead and go nuts with this. I know I did. I turned myself into an awesome, lean, mean laminating machine! Really?..what's with all the puns today?….

No comments:
Post a Comment